 GLORYAAC & BUILDING MATERIALS · DAR ES SALAAM
Product notes · Published Mondays, 09:30 EAT
Notes on materials, from the people who make them.
Written by the people who make the product. Each note takes one question we are asked on site and answers it against our own production data — block geometry, joint design, alloy temper, cure chemistry — and says so where the data does not settle the point.
In this issue
01 · Thin-bed mortar: why 2 mm changes the labour on site02 · Why sealant fails at the joint edge03 · Powder coat or anodised: what lasts on a coastal facade04 · Why a 200 mm AAC wall beats a 240 mm brick wall05 · Structural, weatherproof, MS or two-component06 · Casement, sliding or thermally brokenThin-bed mortar: why 2 mm changes the labour on site
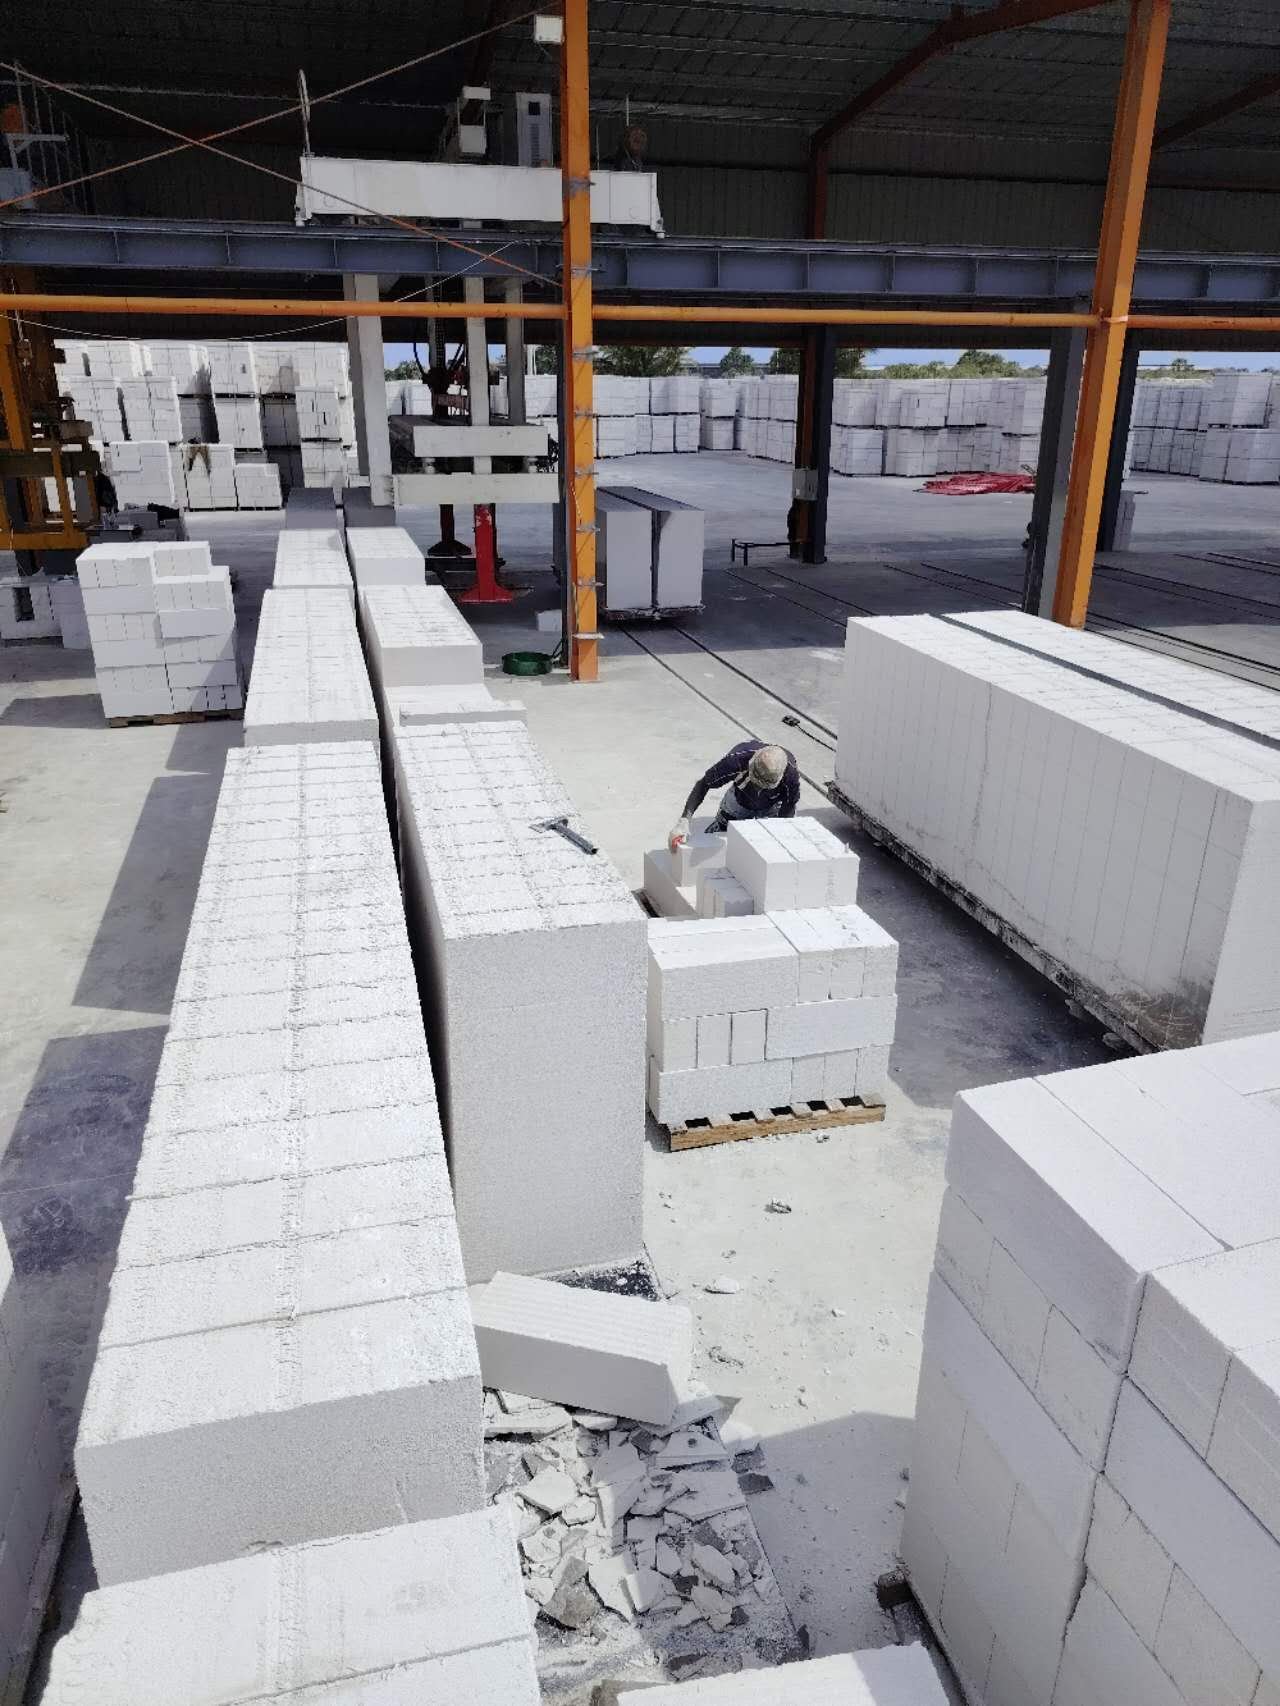
AAC is usually sold on the block. It is won or lost on the joint. The 2–3 mm adhesive bed is not a detail — it is the reason the wall goes up straight and the plaster can stay thin.
What the joint actually does
A conventional block wall sits on a 10–15 mm mortar bed. That bed has two jobs: stick the units together, and fill the gap left by units that are not the same size. With AAC the units are within about ±1 mm, so the second job largely disappears. What is left is a thin film of adhesive whose job is only to bond.
A 2–3 mm bed also cures differently. Cement mortar shrinks as it dries and keeps shrinking for days. A polymer-modified thin-bed adhesive reaches strength quickly and stops moving, which is why a wall can be plastered sooner.
The three things it changes
- Straight walls. Joints that are 2 mm cannot hide a leaning block. The mason corrects as he goes, not the plasterer at the end.
- Less material. A thin bed uses a fraction of the mortar volume of a 10 mm bed, and there is far less waste on the floor.
- Less water on site. Thin-bed adhesive is mixed in small batches with a paddle mixer. No mortar boards, no sand heap, no curing water running down the wall.
Where thin-bed goes wrong
Three mistakes account for most failures. The first is a dry block: AAC absorbs water quickly, and adhesive applied to a bone-dry face sets before it bonds. The second is a notched trowel that is too large, leaving beds of 6–8 mm that behave like mortar and shrink. The third is re-tempering adhesive that has started to skin — once it skins, it will not bond, and no amount of pressing fixes it.
The rule on site is simple: damp the block, not the wall; comb the adhesive, do not spread it; and mix only what can be laid in the working time printed on the bag.
What to ask a supplier
The block is only half the system. Ask which adhesive the block is specified with, what its open time and working time are, and what coverage per square metre it gives at a 3 mm bed. If a supplier cannot answer those three questions, the wall is being designed on site, by whoever is holding the trowel.
Why sealant fails at the joint edge — and how to stop it
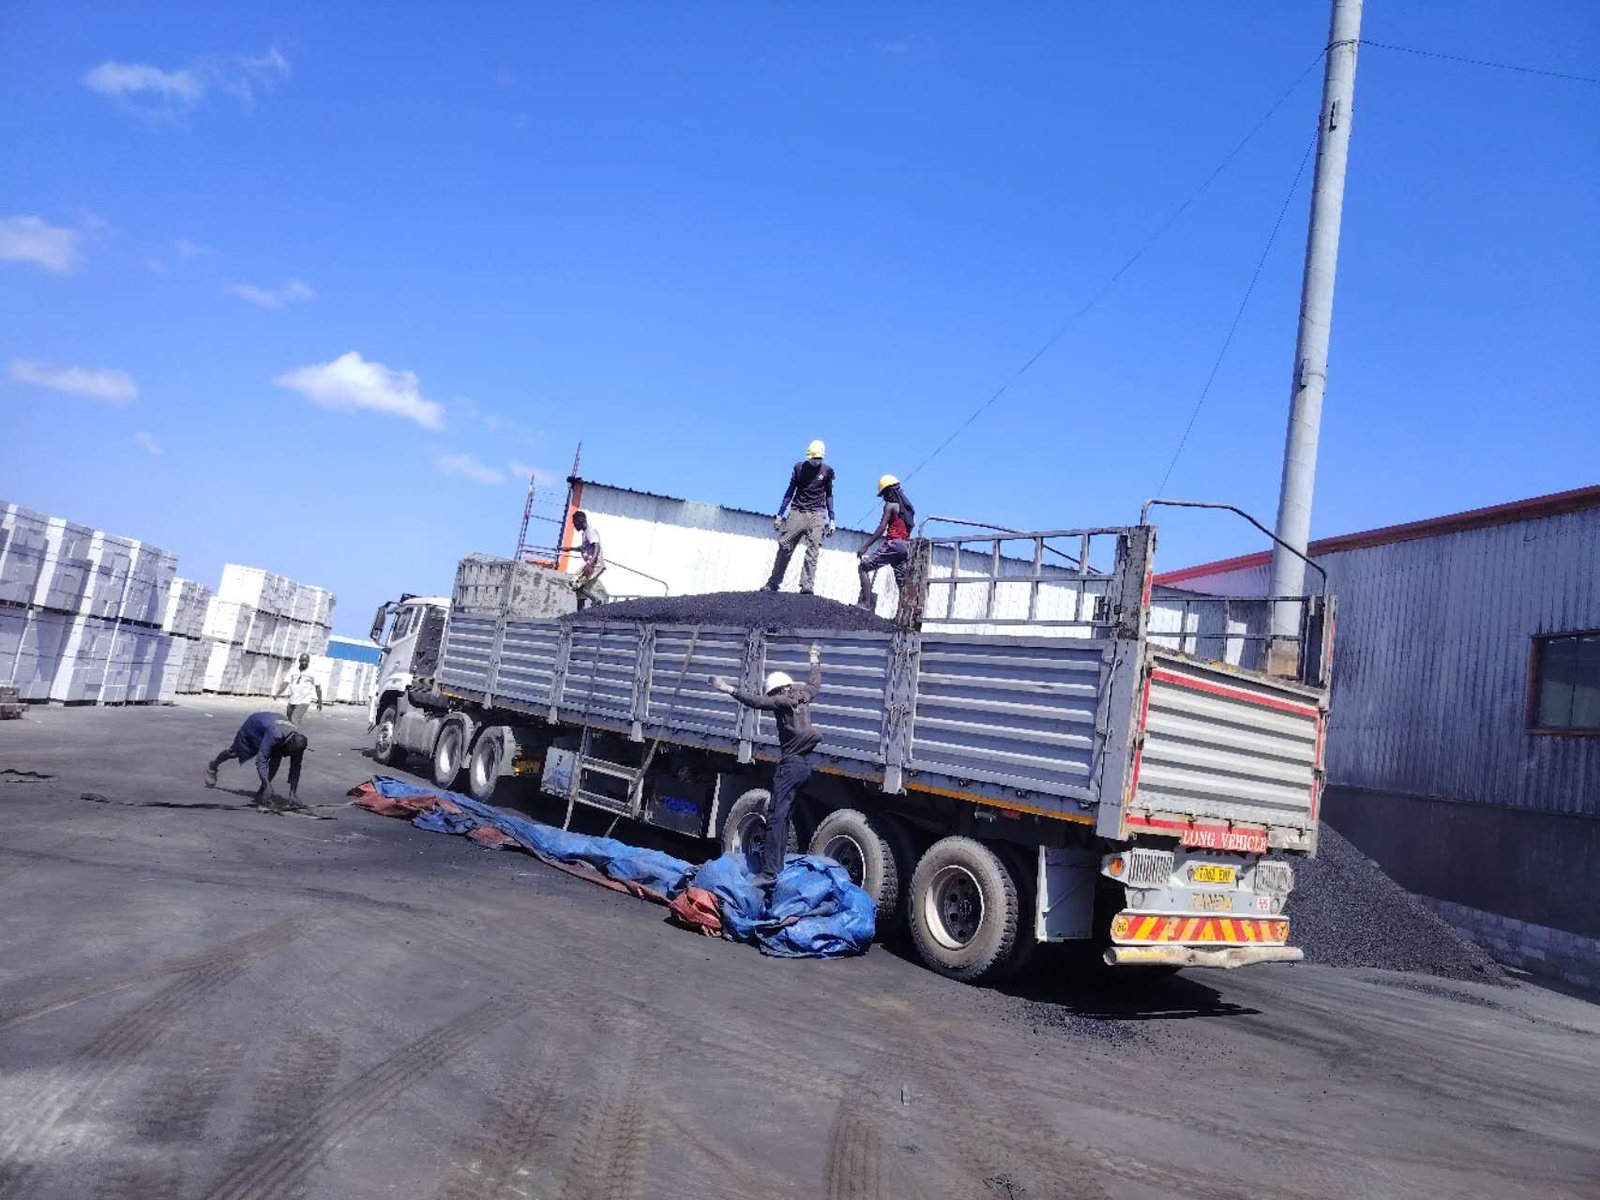
Almost every sealant failure we are asked about is not the sealant. It is the shape of the joint, the preparation of the surface, or a movement that the joint was never sized to take.
Failure usually starts at the edge
Look at a failed joint. The sealant has not torn through the middle; it has peeled away from one substrate, leaving a clean strip of frame or glass behind. That is an adhesion failure, and it has three usual causes: a contaminated surface, the wrong sealant for the substrate, or movement beyond what the joint can absorb.
The joint must be designed, not just filled
Sealant is a spring, not a filler. Its width-to-depth ratio should sit around 2:1 — a 12 mm wide joint wants about 6 mm of depth. Deeper than that and the sealant cannot stretch; it tears at the bond line instead. That is what a backer rod is for: it sets the depth, gives the sealant a shape to grip, and stops three-sided adhesion, where the sealant sticks to the back of the joint and has nowhere to move.
Minimum width matters too. Below about 6 mm, most facade sealants cannot be reliably tooled into the joint at all.
Preparation is most of the job
- Remove dust, release agent and old sealant residue — solvent wipe, then let it flash off.
- Mask both edges; tooling against tape gives a clean bond line and a concave profile.
- Apply primer where the substrate calls for it — porous stone, concrete and some coated metals usually do.
- Tool once, firmly, before the skin forms. Do not re-work a skinned surface.
Choosing the family
Structural joints take a structural silicone. Facade movement joints take a weatherproof grade — BLD-791 for class-50 movement or BLD-660 for ±35%. Interior joints that will be painted take MS, because silicone cannot be overpainted. Factory glazing lines that need a defined cure speed take a two-component product such as BLD-6609.
One rule covers most of it: if the joint transfers load, the sealant is structural. If it only has to move and stay watertight, it is not — and using a structural product there wastes money without improving the seal.
Powder coat or anodised: what lasts on a coastal facade
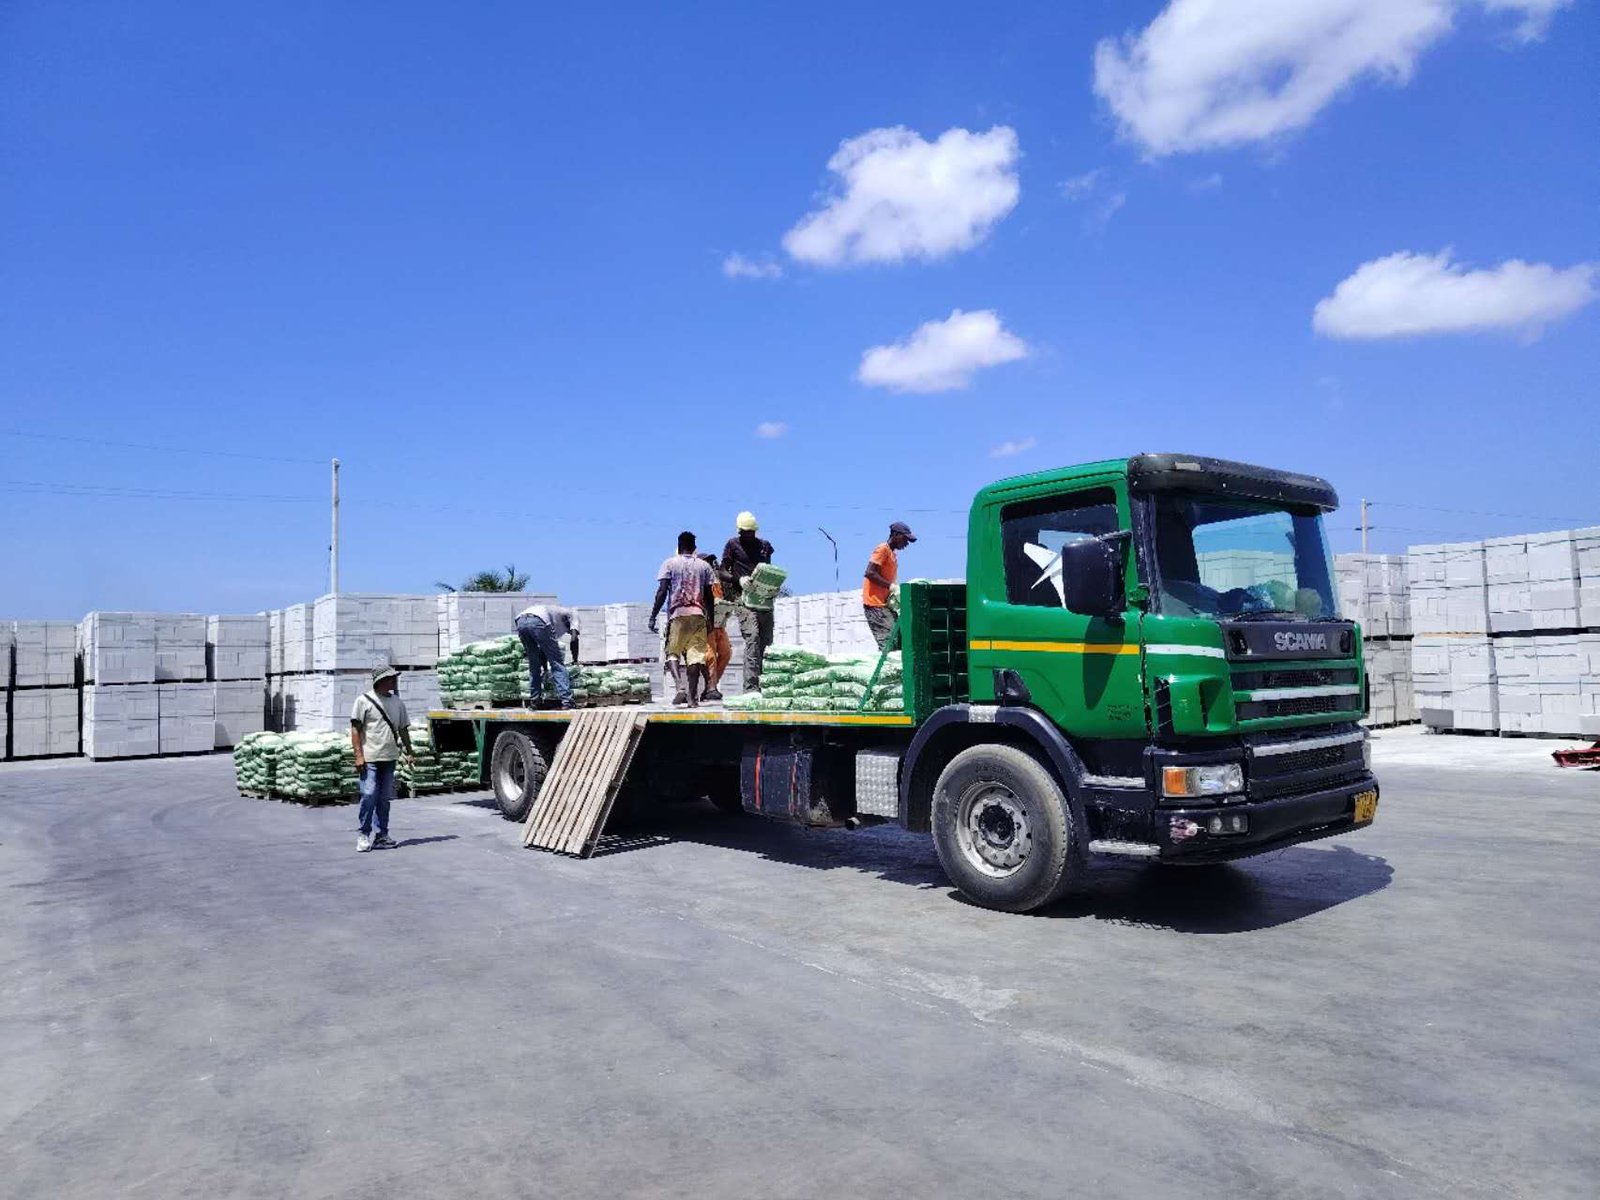
Dar es Salaam is a salt-air city. That single fact decides more about an aluminium finish than any catalogue photograph. Both finishes work; they age differently, and they fail differently.
Anodising is not a coating
Anodising converts the surface of the aluminium itself into an oxide layer, typically 15–25 µm for architectural work. It cannot chip or peel, because there is no film to chip — the protection is part of the metal. It keeps a metallic look, and on a scratch it tends to dull rather than flake.
The limitation is colour: anodising is essentially natural silver, bronze or black. If a project needs a specific RAL colour, anodising is not the route.
Powder coat is a film
Powder coating sprays a charged polymer onto the extrusion and cures it in an oven, giving 60–80 µm of colour-fast film in any RAL. It is the right choice where colour matters — shopfronts, matched facades, branded retail.
Its weakness is at the edges. A thin coat on a sharp arris, or a scratch that reaches the metal, becomes a starting point for filiform corrosion: fine threads of corrosion creeping under the film from a damaged edge. On a coastal site that is the failure mode to design out.
What to specify on the coast
- Pre-treatment first. Chrome-free conversion coating before either finish; without it, both fail early.
- Film thickness on the record. Ask for the measured minimum, not the nominal — 60 µm minimum powder, 15 µm minimum anodising.
- Edges and cut ends. Cut ends exposed on site should be sealed or capped; they are where corrosion starts.
- Fixings. Stainless, and isolated from the aluminium where dissimilar metals meet.
The practical answer
For a natural-metal look on a residential or curtain-wall facade, anodised holds up well and forgives site damage. For colour, powder coat is the only option — specify the thicker film and protect the edges. Neither finish is a substitute for the pre-treatment underneath, which is where most five-year failures actually begin.
Why a 200 mm AAC wall beats a 240 mm brick wall
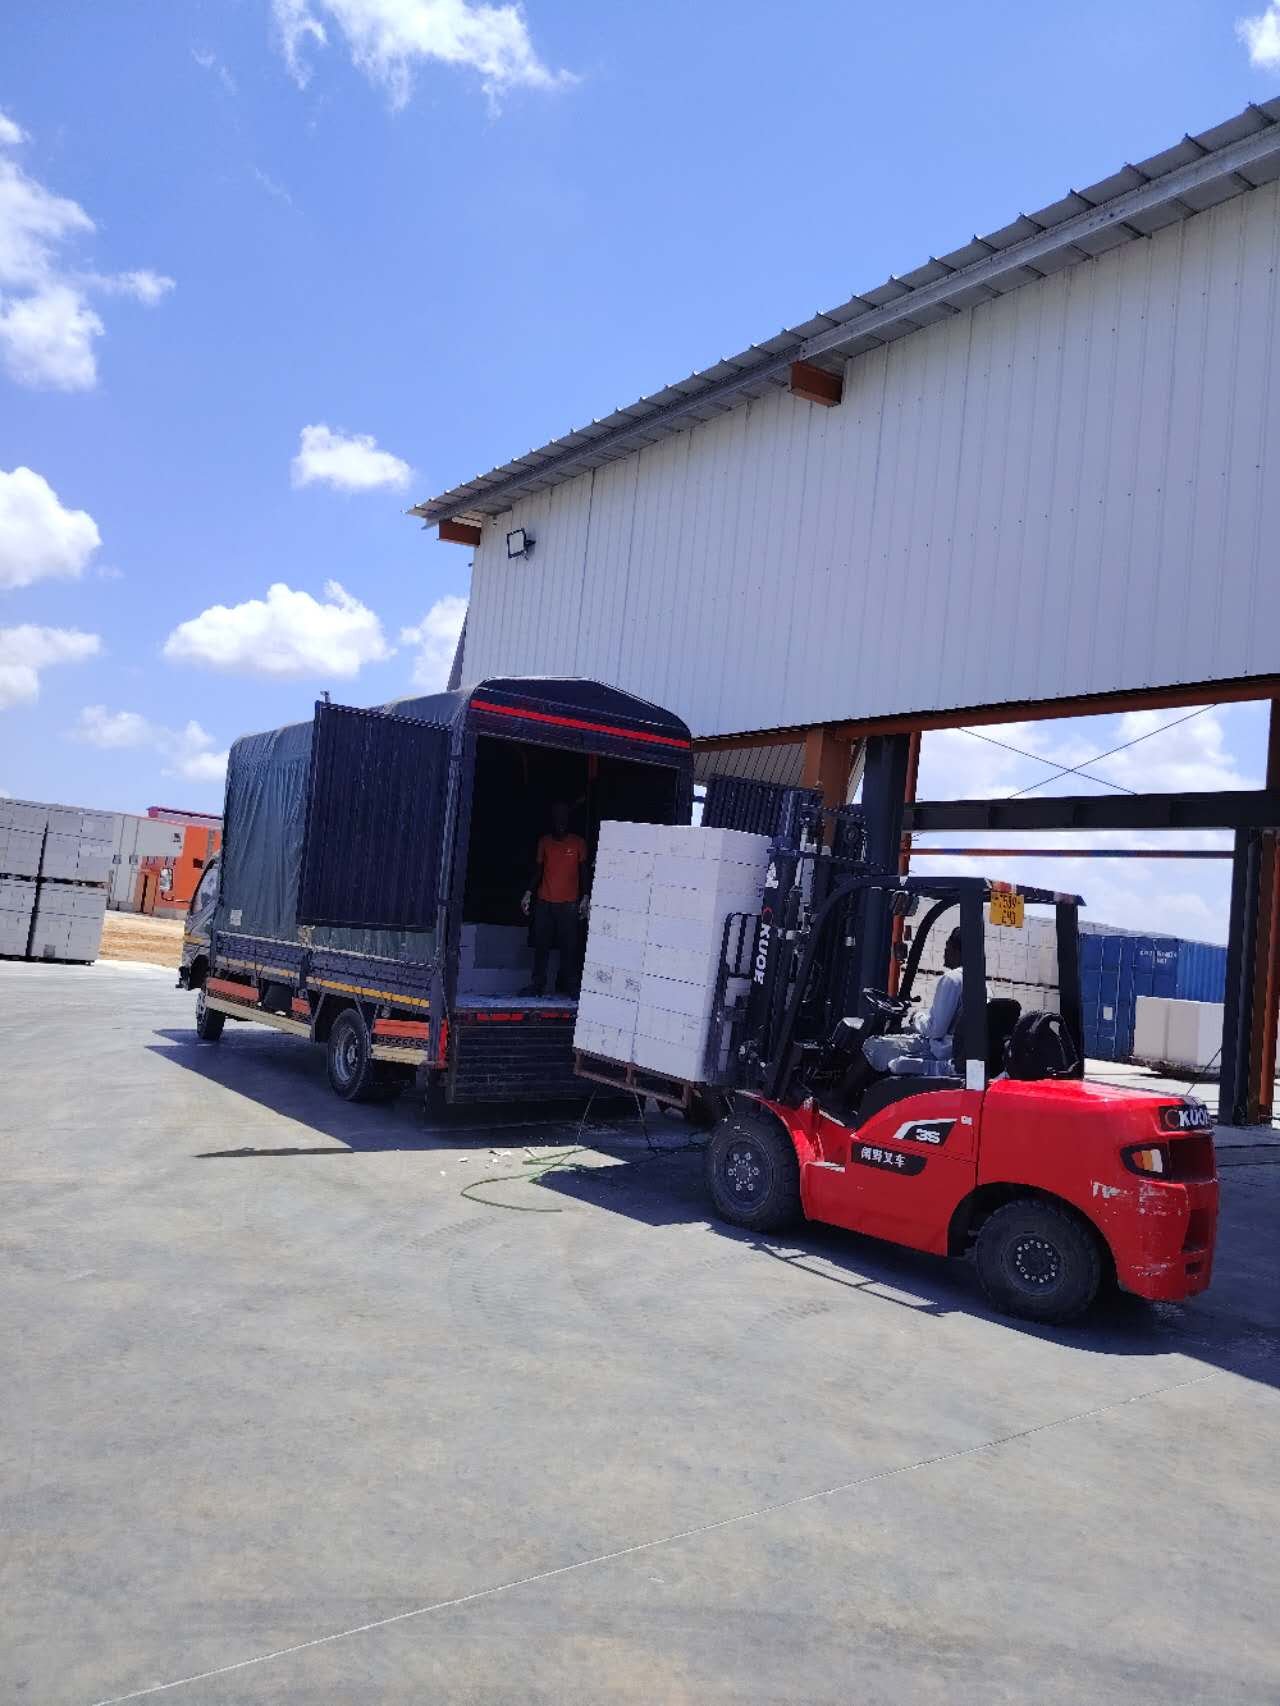
The block price per piece is the number everyone quotes, and it is the number that decides the least. What decides the cost of a wall is how many units sit on a square metre, what the wall weighs, and how much plaster it takes to make it straight.
Start with the count
A 200 mm AAC block has a 600 × 200 mm face. Laid with a 2–3 mm thin-bed joint, one square metre of wall takes about 8.2 blocks. The same square metre in a 240 mm burnt-clay wall takes 128 bricks, each with a 10 mm mortar joint and two leaves to fill.
That is not a small difference in labour. It is fifteen times fewer pieces to handle, and it is fifteen times fewer joints that can be poorly filled.
Then the weight
AAC at 550 kg/m³ gives a 200 mm wall about 110 kg per square metre. A 240 mm brick wall of the same area comes to roughly 320 kg. On a two-storey house that difference runs through the whole structure: smaller beams, lighter columns, less reinforcement, and foundations sized for the soil rather than for the wall.
Then the plaster
AAC block faces are true to about ±1 mm, so the wall takes 3–5 mm of plaster to finish. A brick wall is not true — the bricks are not identical, the joints are not flush, and the plaster has to make up 15–20 mm before it can be painted. Every millimetre of that plaster is cement, sand, water and curing time, on both faces.
What this means on site
- Fewer units per square metre means fewer trips with the barrow and faster wall build.
- Lower mass means the structure above and below the wall can be sized down.
- Thinner plaster means less cement bought, and less water on site.
- Straight faces mean the painter does not need to skim the wall again.
Where brick still wins
Brick has two honest advantages: it is available everywhere, and a small builder can buy it by the hundred with no order lead time. If a project needs 300 blocks this afternoon, AAC is not the answer. Above a truckload, the arithmetic reverses.
The practical rule: compare the finished square metre, not the piece price. Count the units, weigh the wall, measure the plaster — and then put your local rates against it.
Structural, weatherproof, MS or two-component
Four sealant families get called "silicone" on site, and they are not interchangeable. Putting a weather sealant where a structural one belongs is not a cosmetic mistake — it is a panel that can come off.
1. Structural — BLD-880
A one-component neutral-cure silicone made to 1MG GB 16776, the structural glazing standard. Service range −40 °C to +120 °C, tensile modulus 0.8 MPa at 23 °C, curing at 3 mm per day. It is the product that holds glass to a frame in a structural or semi-structural curtain wall.
If the joint transfers load, this is the family. Nothing else on this list does that job.
2. Weatherproof — BLD-791 and BLD-660
These seal the joints between panels after the structure is already fixed. BLD-791 is a class-50 movement grade for glass and metal curtain wall joints where thermal and wind movement is large. BLD-660 handles ±35% movement and is the workhorse for expansion joints in concrete, perimeter joints and exterior seams.
The tell: these are allowed to stretch and stay stuck. They are not allowed to carry load.
3. MS polymer — BLD-688
MS is a modified silane, not a silicone. It bonds without a primer to concrete, metal, glass, aluminium and PVC, it is low-VOC, it does not stain porous stone, and it takes paint. On interior work — ceilings, skirts, window reveals, kitchen and wardrobe joints — that last point decides it: silicone cannot be painted, MS can.
4. Two-component — BLD-6609 and BLD-8809
In a factory glazing line the question is not adhesion but cure speed. Two-component products are supplied as A and B and mixed at a fixed ratio — 10:1 by volume for the insulating-glass secondary seal — so the line gets a defined, fast, depth-independent cure rather than a skin that forms overnight.
BLD-6609 is the insulating-glass secondary seal: 1.7 g/ml, 300 g/min, service to +150 °C. BLD-8809 is the structural assembly grade for two-component structural glazing. Neither belongs in a hand-cartridge on a scaffold.
The short version
- Load-bearing joint: structural silicone, one or two component.
- Moving joint on a facade: weatherproof silicone, class 50 or ±35%.
- Interior joint that will be painted: MS.
- Factory line that needs cure speed: two-component.
Most call-backs we hear about are not bad sealant. They are the right sealant in the wrong joint.
Casement, sliding or thermally broken
Window systems are usually chosen on price per square metre and then argued about for the rest of the building's life. Three decisions actually matter: how the leaf opens, how much glass it must carry, and whether the room behind it is air-conditioned.
Casement, 75 mm — SA-CD75
Outward-opening, 1.8 mm wall, glass up to 28 mm. The heavier wall is there for a reason: tall leaves and exposed elevations need stiffness, or the sash drops and the seal fails at the bottom corner. If the opening is large, or the building faces the sea breeze, start here.
Sliding, 80 mm — SA-SL80
Double track, 1.4 mm wall, glass 5–20 mm, two to four panels. Sliding does not project into the room and does not fight the wind, which is why it dominates apartments. The trade-off is air tightness: a sliding joint is a brush seal, not a compression gasket. Bedrooms that need quiet and cool air do better with a casement.
Thermally broken, 70 mm — SA-DW70
A 24 mm polyamide barrier separates the inner and outer aluminium faces, so heat does not travel through the frame. With suitable glazing the whole window reaches Uw ≤ 2.0 W/m²K, and it accepts double or triple glazed units up to 32 mm.
Whether it pays depends on what is behind it. In a naturally ventilated house it rarely does. In an air-conditioned office or hotel room in Dar es Salaam, the frame is a small part of the cooling load — but it is the part that also stops condensation, and condensation is what stains the reveal.
Facade, 120 mm — SA-CW120
Semi-exposed curtain wall: vertical caps visible, horizontal joints concealed. 3.0 mm wall for wind loads to 2.5 kPa, dry-glazed with EPDM gaskets so the exterior face needs no site sealant. The structure is bonded with a structural silicone — BLD-880 for one component, BLD-8809 for two — and the weather joints take BLD-791.
How to choose in one pass
- Residential, ventilated, normal openings: sliding 80 or casement 75.
- Exposed elevation or tall leaf: casement 75 with 1.8 mm wall.
- Air-conditioned room, condensation risk: thermally broken 70.
- Whole elevation of glass: semi-exposed curtain wall 120.
The frame is about 20% of the window cost and most of its behaviour. Choose it before the glass, not after.
Each note takes one question we are asked on site and answers it against our own production data — block geometry, joint design, alloy temper, cure chemistry. Where the data does not settle the point, we say so. New note every Monday, 09:30 East Africa Time; to receive it by email or WhatsApp, send the word INSIGHTS to +255 707 366 855.